A well-built status page is an open communication channel during outages, helping with transparency and trust. According to the research ordered by IBM, the cost of IT downtime reaches $400,000 per hour for enterprises, so learning how to build a status page for your digital product or service can be invaluable for your company.
Creating a status page for your company or product ensures transparency and builds trust by keeping users informed, potentially preventing loss of reputation and revenue.
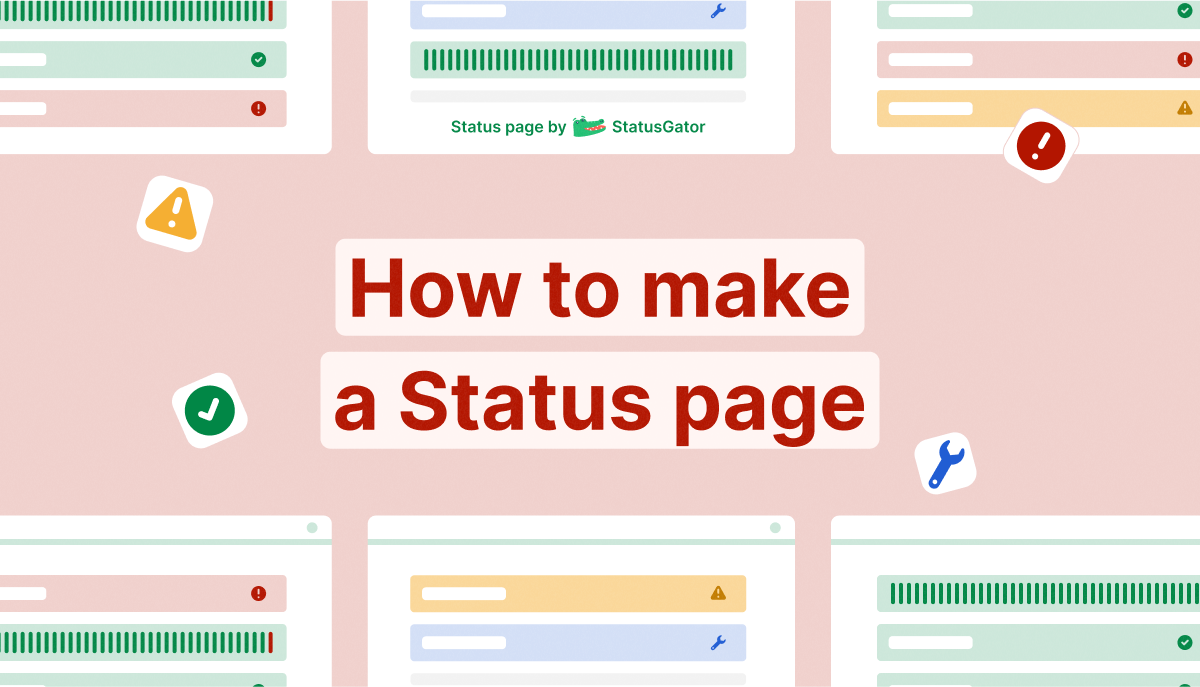
Dive into this step-by-step guide to create your first status page in 10 minutes or less.
How to Build a Status Page Step-by-Step
Following these steps, you can automate status updates and communicate effectively with your users, colleagues, and stakeholders.
Step 1: Understand the Purpose of a Status Page
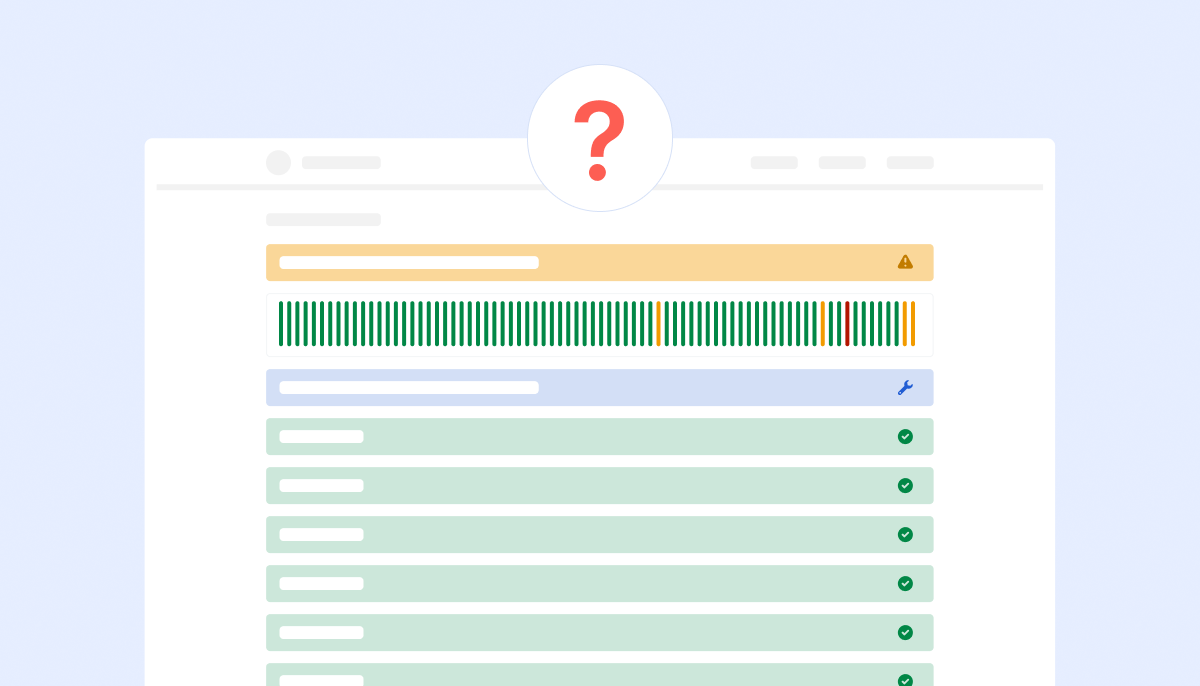
Before considering how to make a status page that works for you, it’s essential to understand its purpose. Status pages serve as a communication platform between you and your users, informing them about the current status of your product, website, services, or servers.
On the other hand, a private status page restricts access through password protection, catering specifically to an internal audience.
This internal status page is particularly useful for facilitating incident communication across different teams within an organization, ensuring everyone is aligned during critical situations.
However, there’s more to it than just displaying downtime or system statuses. Some other standard features include displaying historical information about system outages and any scheduled maintenance you have planned. We discuss some of the status page examples in our blog.
With these features, users can check your status page in the event of an outage and have all the resources they need to be kept up to date. Ultimately, public status pages help manage customer expectations and reduce support tickets by informing users.
Step 2: Decide on the Type of Status Page to Build
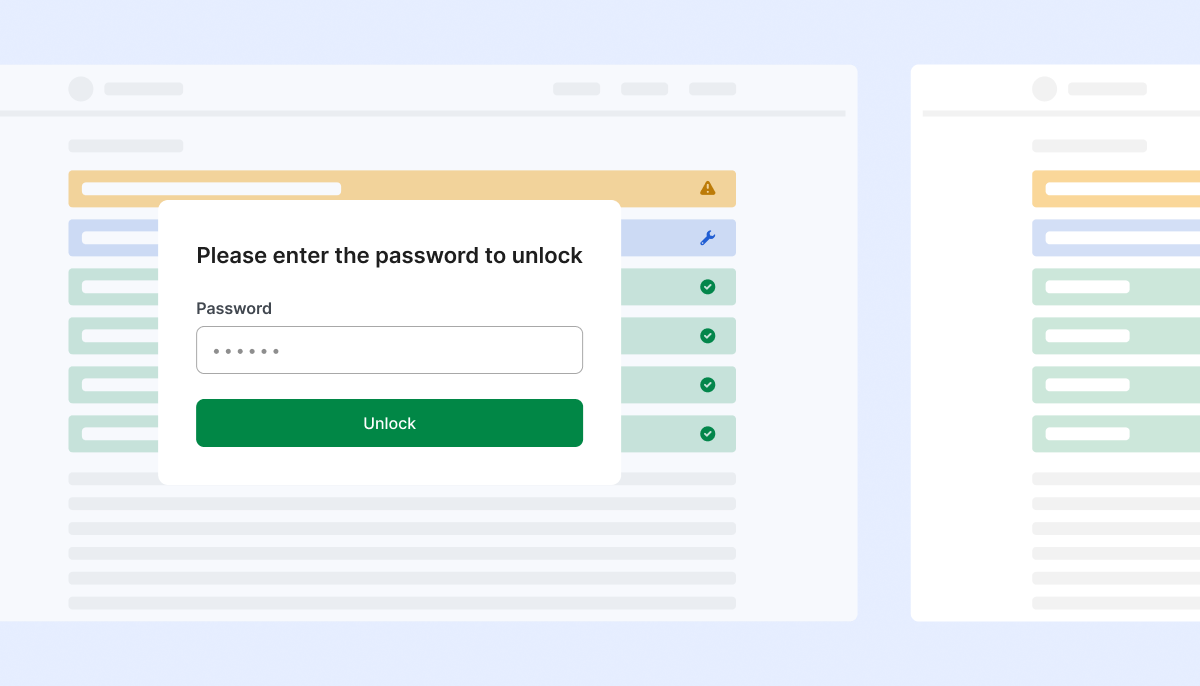
Before you create a status page, it’s important to know you can build a status page that can be public or private. For some businesses both public and private pages are necessary or even a few private status pages for different teams.
Public status pages are accessible to everyone and provide general information about the system’s status. On the other hand, private status pages are intended for internal use and offer detailed insights into the system’s performance for the dev team, helpdesk, IT team, and others.
There’s also an IT status page. It’s a centralized page aggregating various IT services’ status information, including cloud services, hosted applications, and websites. By consolidating this data into a single, accessible status page, IT teams and helpdesk staff can efficiently monitor and manage the operational status of all critical services. This functionality is crucial for responding swiftly to outages.
Knowing which works best for you before making status pages is key.
Step 3: Choose the Right Tools
When you build a status page, several tools and services can help you tailor it to your needs. Some popular options include:
StatusGator offers private and public status pages and aggregates third-party status pages on your status page. Users can even monitor services without the official status pages and stay updated on the Service Now status, Sentinel One status, TriNet status and so on.
StatusGator’s advanced algorithm analyzes thousands of data points every minute to identify potential service disruptions. It provides early warning signals about issues with your critical dependencies, helping you stay ahead of outages and minimize downtime.
It is suitable for a wide range of businesses and organizations, from software startups to tech unicorns, from MSP to K-12. StatusGator offers a free plan and lets you set up a status page in minutes.

Cachet is a free open-source status page solution for tech-savvy teams to build status pages. Cachet does not aggregate status pages of the other services, and in general, your status page quality depends on your tech skills. More free and open-source status page solutions are available in our recent article.
Status.io is designed to host status pages. The platform offers high availability due to its distributed infrastructure and supports complex systems. The platform is pricier, starting at $79 per month.
Statuspage by Atlassian is a popular choice among large companies for building status pages. It’s also a pricier incident communication tool, and users pay separately for their public or private status pages.
Statuspal is an incident communication tool that provides hosted status pages for a website, application, or API. Statuspal offers unlimited status pages, but limits monitored services, metrics, and subscribers. Currently, there are plenty of options, and you can learn more about popular status page providers apart from the list we provided.
Step 4: Customize and Design Your Status Page

Knowing how to make a status page means understanding what a status page should be. In short, your status page should be clear, informative, and easy to navigate.
Want to know how to make a status page that hits the mark? A provider can help you with that. Consider the following aspects when choosing a hosting service:
- Verify the page’s responsiveness and accessibility on all devices.
- Check for availability to host on a simple, easily understandable URL.
- Review visual aids like color indicators (green for “OK”, red for “error”, and blue for “maintenance”) to convey the status at a glance.
- Look out for customization options, so your page is consistent with your brand for a seamless user experience.
Take a few minutes to make sure you’ve introduced your company’s brand on your page. It allows users to see that they are in the right from the beginning. Here are some quick wins:
- Add a page logo or a custom header image.
- Add an email logo (if you’re using email notifications).
- Add a page favicon.
- Add a Twitter card image (if you’re using the Twitter integration).
- Change the page colors to match your brand.
- Set up a separate domain.
Step 5: Add Components of Your Service or an App
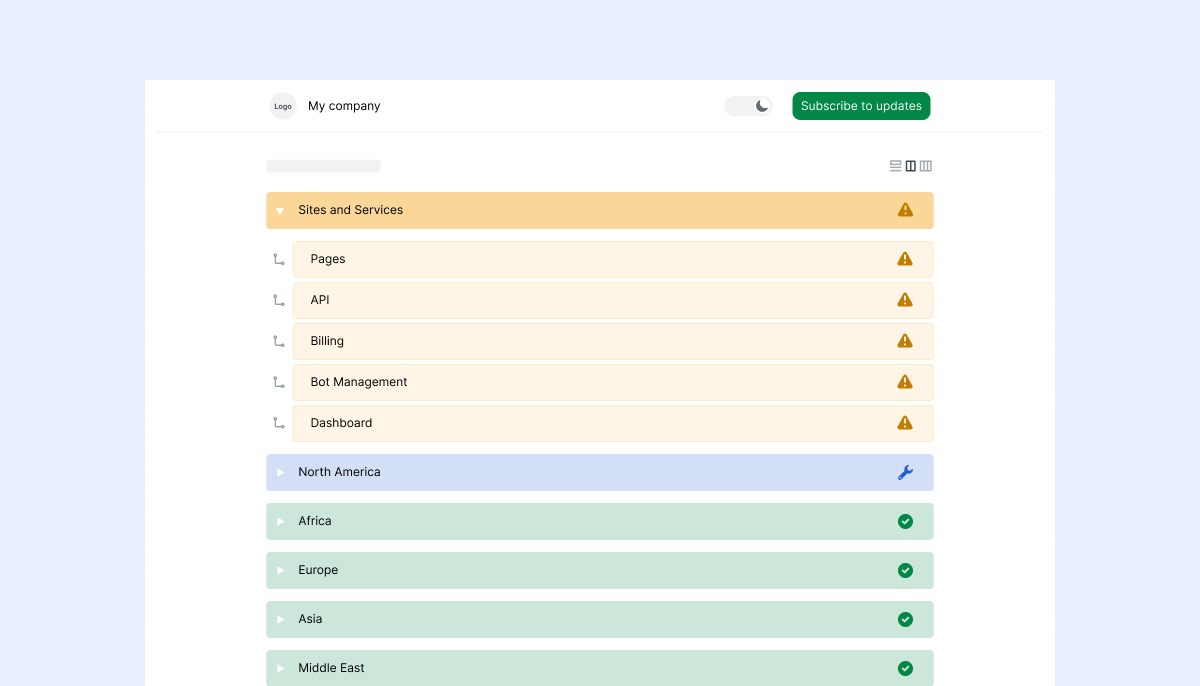
Creating components for your status page involves identifying and listing the essential elements of your infrastructure or service that your users rely on.
These components could include:
- Core components of your product or service.
- Additional components like help center.
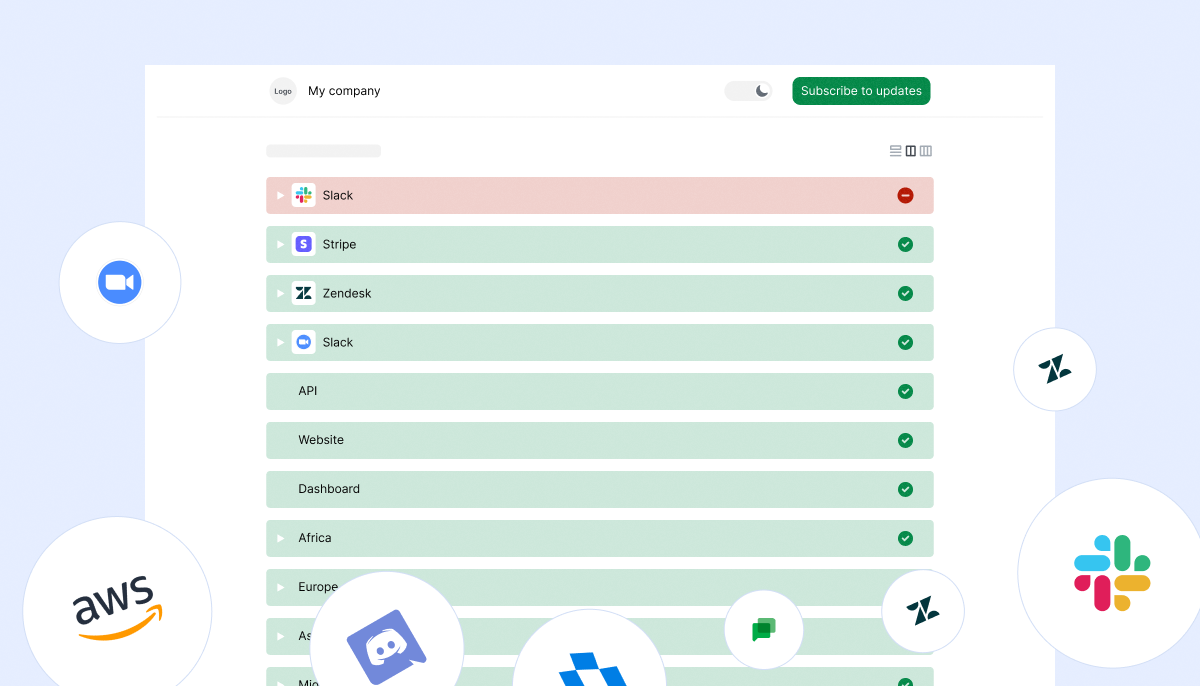
- Cloud dependencies – so whenever AWS or Cloudflare goes down, your status page will communicate this to users. StatusGator really simplifies the process, offering to add a SaaS service or a cloud vendor from the list of 4,800+ monitored companies. Better yet, users can filter to monitor a particular component or a region of the service they depend on. A few providers allow third-party services to be added to a status page.
- Website – some providers support this option.
- API.
- Mobile applications.
- And any other supporting features or services.
It’s important to create a status page that reflects your services effectively. By defining these components on your status page, you provide your audience with specific information about which aspects of your product are impacted during an outage.
Apart from components, you should separate regions if your product is hosted in multiple regions or areas. Displaying status across different regions allows your users to get relevant information about the components they use within the region where they access your product.
Tip: When you create your status page, aim for clarity and brevity when naming your components to ensure they are immediately understandable to your users. Companies that know how to build a status page effectively always keep it simple and clear, such as StatusGator, Statuspage, Statuspal, and others. However, consider adding a brief description to each component in cases where a name might not be self-explanatory.
Step 6: Get Your Incident Management Strategy in Place and Your Team on Board
This step is crucial! The effectiveness of a status page hinges on having a dedicated team to oversee it and a clear strategy for its utilization. Here are some key considerations for knowing how to make a status page that works for your entire organization:
- Assign ownership of the status page to specific individuals or roles within your organization.
- Ensure that all relevant team members have the permissions needed to update and manage the page effectively.
- Develop a comprehensive incident response plan that outlines the scenarios in which the status page should be updated, including the procedures for doing so.
- Craft templates for incident communication to enable efficient updates during events. This preparation ensures your messaging remains consistent across incidents.
- Clean up tests or example incidents you’ve created on your status page pre-publish.
Step 7: Let Your Users Know About Your Status Page
Once you know how to make a status page, publish it and make it active. Once you’ve done this, it’s crucial to inform your users about this resource. A status page is a critical tool offering transparency and trust; your users need to know it exists.
Here are several strategies to ensure your users are aware of and can easily access your status page:
- Send an email to your customers introducing the status page, including a call-to-action encouraging them to subscribe for updates.
- Add a link to your website and ensure it is visible to users.
- Post a message on your support page or helpdesk saying that users can check the status of services on your status page.
- Embed a widget displaying the system’s status directly within your application’s user interface, your website’s footer, and your help center to ensure visibility.
- Leverage Twitter integration to automatically notify your followers about any incidents reported on your status page, enhancing real-time communication.
- Make a post on social media about launching your status page.
Regularly update your status page with the latest information about any incidents or maintenance. Consider integrating subscriptions so users receive updates via email or SMS.
Step 8: Evaluate and Adjust Your Status Page
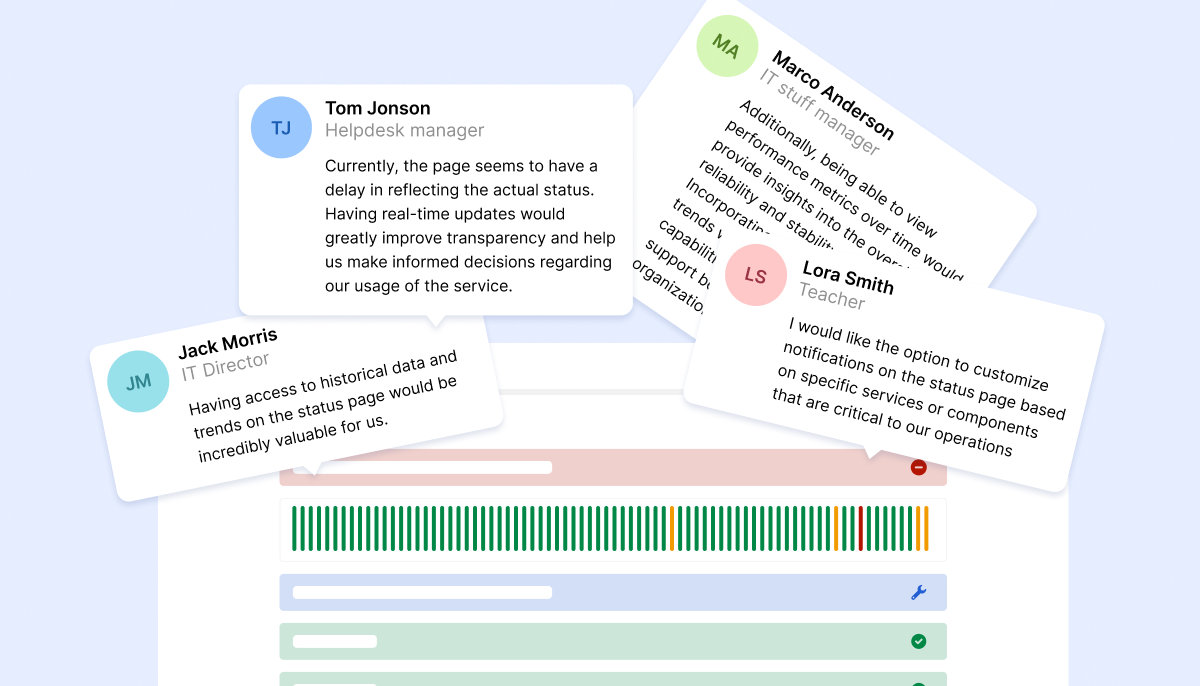
After your status page is up and running, monitor its effectiveness regularly. Gather feedback from users and your internal team to make necessary adjustments. An effective status page is an evolving tool that should adapt to the needs of its audience and the organization.
Creating a status page is a strategic move to enhance your company’s transparency and reliability. By choosing the right tools and following best practices in design and communication, you can create a status page that serves as a valuable resource for your users and a testament to your commitment to excellent service. Knowing how to build a status page that reflects reliability and transparency upon your users goes a long way.

Bonus Tip: Know How To Build A Status Page Displaying Your Dependencies With Automation Tools
One major tip we can give you for knowing how to build a status page effectively is to consider integrating with monitoring and alerting tools. Integration with tools such as Opsgenie, Pingdom, New Relic, and PagerDuty goes a long way for those looking to streamline communication.
These tools can automate the update process, ensuring your status page reflects real-time information without manual intervention. StatusGator has this function built in, while other status page tools require third-party integrations and subscriptions.
Some status page systems offer to add the status of the third-party cloud vendors and SaaS companies you want to display on your status page.
Typically, companies do this when they are dependable on these cloud and SaaS services, and their uptime is affected by these. StatusGator stands out by letting you create a status page that can integrate with over 4,800 services including many third-party services.
Also, you get to monitor Skyward status, Paychex status, and other services without status pages. By helping you learn along the way, you can learn how to make a status page that works best for you with StatusGator.
FAQ
How to create a status page?
Here’s how to create a status page based on a step-by-step guide from StatusGator:
- Define the Purpose: Understand and define your goal with your status page. Is it to inform users about the current status of services, planned maintenance, or historical downtime?
- Choose the Platform: Select the right tools and services that best fit your needs. Platforms like StatusGator offer comprehensive solutions, including monitoring both your services and third-party providers, which can be integrated into your status page.
- Design Your Page: Customize the look and functionality of your status page. Ensure it is user-friendly, mobile-responsive, and reflects your company’s branding. Incorporate clear indicators like color-coded status levels to make the information easily accessible at a glance.
- Plan Content and Structure: Decide on the components and information that will be most valuable to your users. This includes real-time status updates, contact information for support, and historical uptime/downtime reports.
- Establish Incident Management Protocols: Set up procedures for updating the status page during an incident. This should include who is responsible for updates, how often they occur, and what templates to use for different incidents.
- Launch and Promote Your Status Page: Once your status page is ready, make it easily accessible from your main website and promote it to your users. Ensure they are aware of how to access it during incidents to reduce support queries and enhance user satisfaction.
Following these steps will help you create a status page that not only serves its functional purpose but also supports your overall communication strategy and customer service efforts.
What is a public status page?
A public status page is a status page available to anyone who has the URL. In contrast, a private status page is only visible to invited parties.
What makes a good status page?
A good status page effectively communicates with end users through multiple channels. It should feature clear, concise messaging and visual cues that easily convey the current status of services. Additionally, the notifications sent to customers, whether through emails or integrated alerts, should be informative and timely to ensure that users are well-informed about any updates or issues.
How to implement a status page?
Here’s how to implement a status page in 10 minutes or less, following the step-by-step guide from StatusGator:
- Objective. Determine the primary goal of your status page—whether it’s to inform users about service availability, upcoming maintenance, or historical incidents.
- Platform. Choose a platform like StatusGator that fits your technical requirements and offers both monitoring and status page functionalities.
- Design. Customize the design to be intuitive and aligned with your brand, using clear status indicators for easy understanding.
- Set up content. Include essential elements such as real-time updates and contact info for support.
- Manage incidents. Develop protocols for regular updates during incidents, specifying roles and communication templates.
- Publishing. Make the status page accessible from your main site and inform your users about its availability for enhanced transparency during outages.
This streamlined approach ensures your status page is effective and supports your communication strategy efficiently.